While the upcoming update for Windows 10 is dubbed 'Sun Valley,' a sneak peek of the new Windows iteration has already surfaced. Windows 11 is on the horizon, promising significant changes and impressive features.
The most recent update for Windows 10 was released just yesterday, heightening anticipation for the imminent launch of Windows 11, which is currently available in its beta version.
Despite the availability of a leaked version for users to test and explore its features, Microsoft plans to withhold the official launch of Windows 11 until the end of the year, unveiling the full version at that time. Windows 10 users are eager to witness the new features sooner, though caution is advised when experimenting with the leaked version, as Microsoft has yet to officially announce its complete operating system.
Quickly Enable or Disable Windows 11/10 Update?
How to Create Windows 11 Bootable USB Drive using CMD?
Download the Latest Version of Windows 10 Lite Edition v11 (Updated Nov 2019)
Step 1: Set up VMware Workstation on your Windows 10 computer.
- Download VMware Workstation Pro using the provided link. Windows 11 Free Download
- Run the
installation, click 'Next,' and proceed through each step with the
default settings.
- When the installation is finished, click 'Finish.
Step 2: Set up a New Virtual Machine for Windows 11.
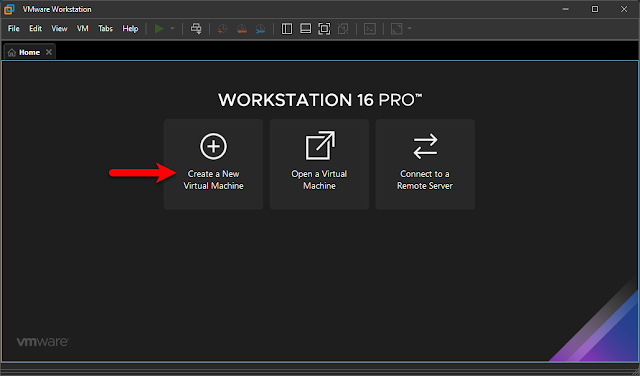
- To create a new virtual machine for Windows 11, open VMware Workstation.
On the main screen, click on 'Create a New Virtual Machine.
 |
| Create a New Virtual Machine |
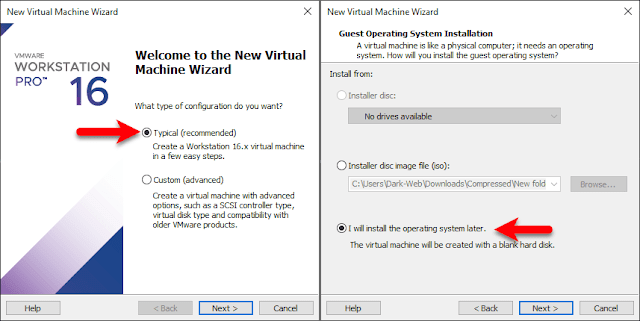
- On the Welcome Wizard screen, choose 'Typical (Recommended)' and click
'Next.' Select 'I will install the operating system later' and proceed
by clicking 'Next.
 |
| Basic settings |
- Choose 'Microsoft Windows,' then select the version 'Windows 10
X64-Bit,' and click 'Next.' Provide a name for the Virtual Machine, and
proceed by clicking 'Next.
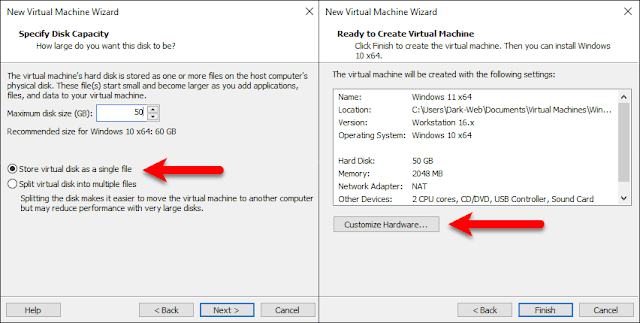
- Choose the maximum disk size for Windows 11, select the option 'Store
virtual disk as a single file,' and click 'Next.' Upon reaching the last
window, click on 'Customize Hardware
 |
| Customize Hardware |
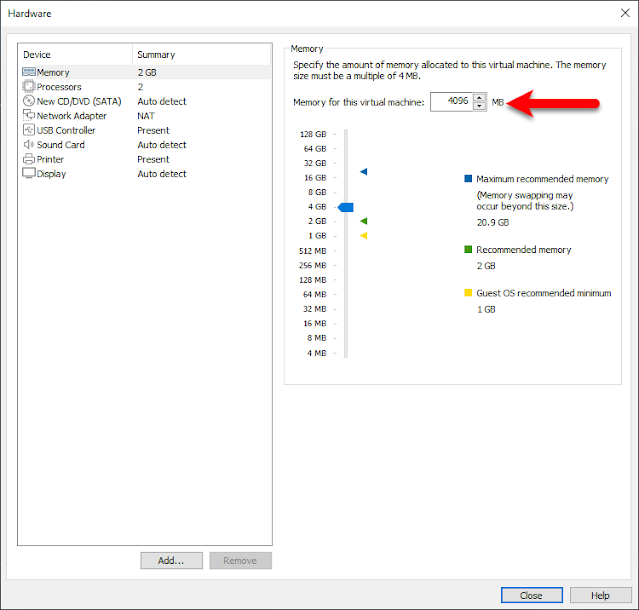
- When the settings window appears, go to the 'Memory' tab and increase the memory size.
 |
| Increase Memory |
- Navigate to the 'Processor' tab, and enhance the number of processors.
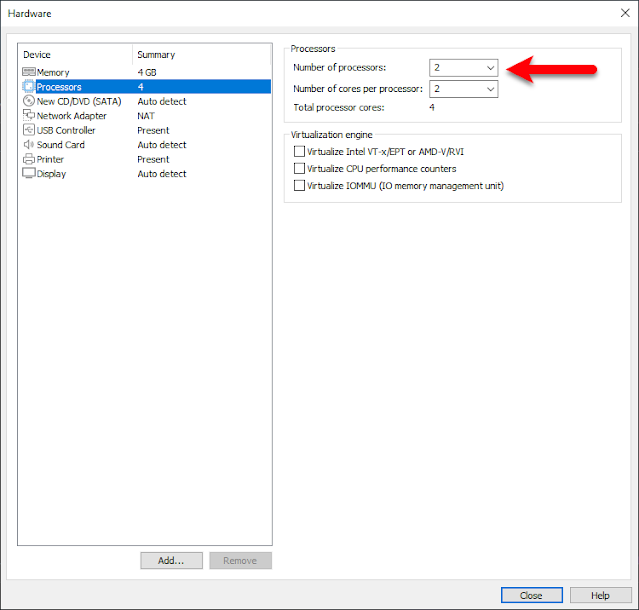 |
| Increase number of processors |
- Choose the 'New CD/DVD (SATA)' tab, then opt for 'Use ISO Image file' and click on 'Browse.
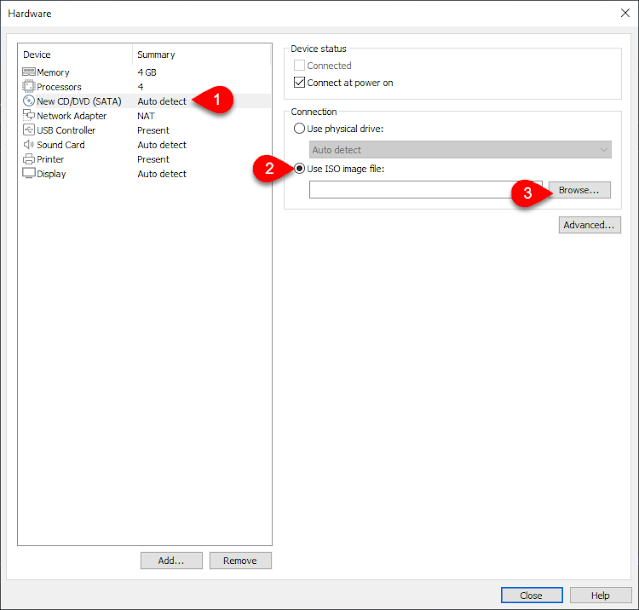 |
| Insert Windows 11 ISO image |
- Pick the Windows 11 ISO image file and click 'Open.
- Go to the 'USB Controller' tab, select 'USB 3.1' under USB Compatibility, and then click 'Close.
- To make adjustments to the Windows 11 virtual machine settings, just click 'Finish' to create the new virtual machine.
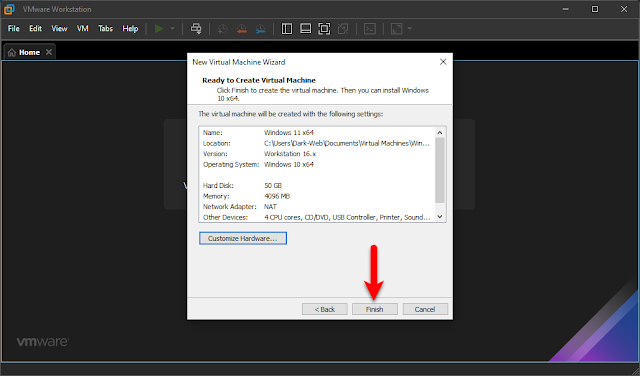 |
| Finish |
Step 3: Conduct a Fresh Installation of Windows 11.
Once everything is set up successfully, just click 'Power on this virtual machine' to initiate the installation.
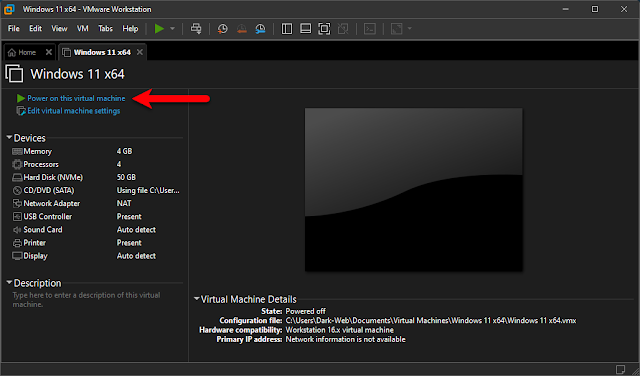 |
| Install Windows 11 |
- When Windows 11 initiates the installation, press any key at the first screen to boot into the Windows 11 installation window.
- On the initial screen, select your language, time, date, country, and click 'Next.'
- Proceed to the next screen and click 'Install.'
- Choose the option 'I don't have the product key.'
- Select your Windows 11 version and click 'Next.'
- Agree to the terms and conditions of Windows 11 and click 'Next.'
- Opt for the option 'Custom: Install Only Windows (Advanced).'
- Now, create a virtual machine disk for Windows 11 using the disk you previously set up during the virtual machine creation.
- Click 'New,' enter the disk size, and click 'Apply.'
- Confirm the creation of the virtual machine disk by clicking 'OK.'
- The disk is now being created for the installation; click 'Next' to proceed.
- The Windows 11 installation on the VMware machine will begin; please wait until the installation is completed.
- Once the installation finishes, the virtual machine will automatically restart.
- After restarting, wait for Windows 11 to prepare for its first use.
- After completing the Windows 11 installation, proceed with basic settings for the first use.
- On the welcome screen, choose your language and click 'Next.'
- Select your location and click 'Next.'
- Add a keyboard layout by clicking 'Add Layout' or click 'Skip' to go with the default.
- Wait for the system to check for updates.
- Choose the option 'Set up for personal use' and click 'Next.'
- Enter your Microsoft account details; if you don't have one, click 'Create' and follow the steps. Then, click 'Next.'
- Create a PIN and enter your password, clicking 'OK.'
- Navigate through privacy settings by clicking 'Next.'
- Accept the terms and privacy policies of Windows by clicking 'Accept.'
- On the screen labeled 'Let's customize your Experience,' click 'Skip.'
- Select the option 'Only Store Files on this device' and click 'Next.'
- Wait for a few moments as the system sets up the settings.
- Windows 11 is now installed on VMware Workstation on your Windows PC.
Step 3: Enable Full-screen Mode for Windows 11 on VMware
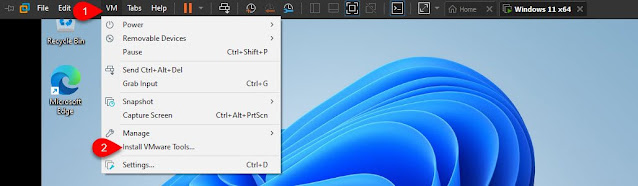
This final step is crucial after successfully installing Windows 11 on VMware Workstation. To enter full-screen mode, you'll need to install a handy tool called VMware Tools. This tool enables all the features of Windows 11 or any other operating system on VMware Workstation.
Simply go to the top bar, click on the 'VM' option, and select 'Install VMware Tools.
 |
| Install VMware Tools |
Take a short pause while the VMware Tools setup appears on your screen.
When it does, simply click 'Run setup' to start the installation wizard.
 |
| Run Installation |
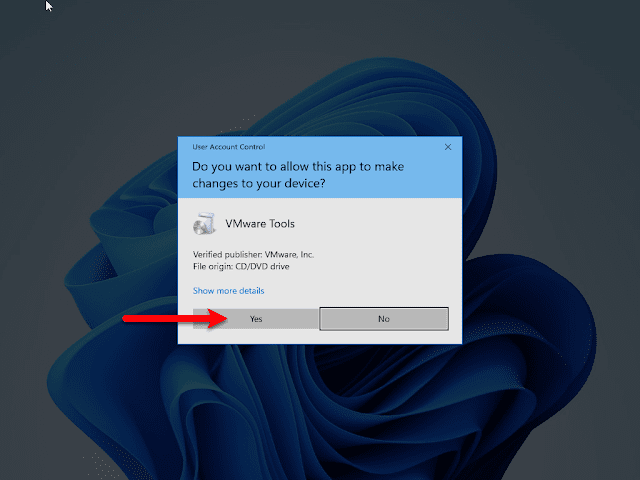
Click 'Yes' to initiate the installation process.
 |
| Click Yes |
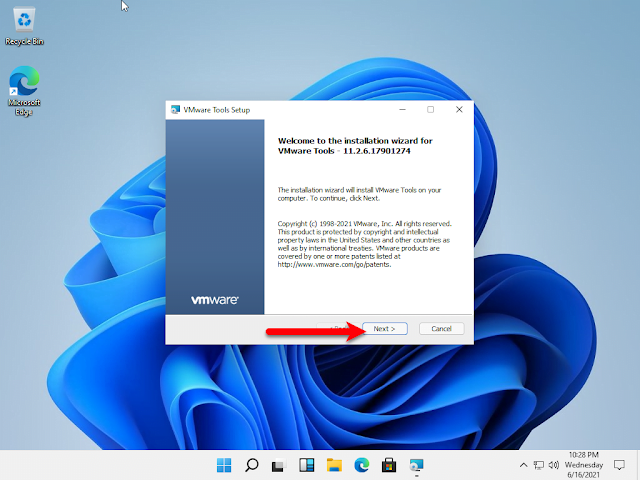
Once the installation wizard opens, click 'Next.'
 |
| Click next |
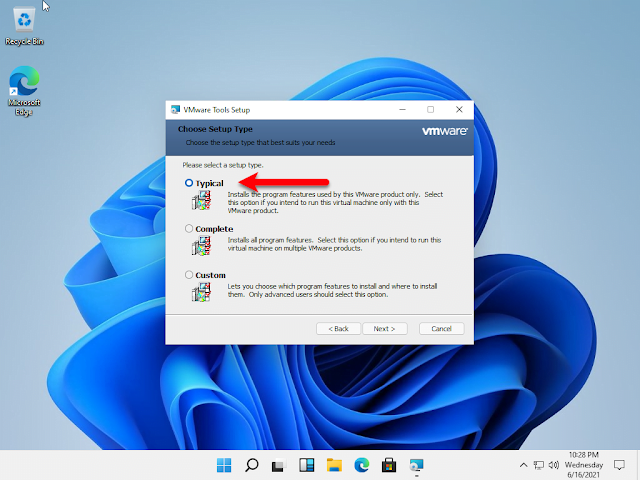
Chzose 'Typical' and click 'Next.'
 |
| Select Typical |
VMware Tools is now prepared for installation; click on 'Install.'
 |
| Install |
Please be patient while the installation process completes.
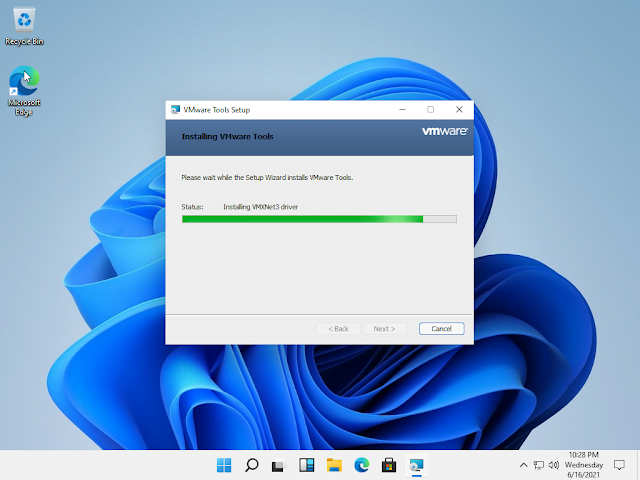 |
| Installing VMware tools |
After the installation is successfully completed, click on 'Finish.'
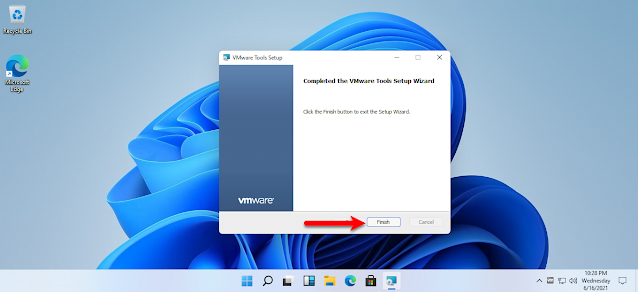 |
| Click Finish |
After clicking 'Finish,' the system will prompt you to restart Windows 11. Once you return to Windows 11, you'll experience it in full-screen mode.
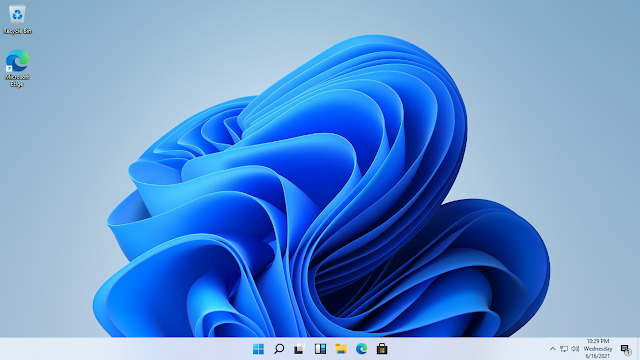 |
| Windows 11 |
If you run into any problems, feel free to let us know by commenting below.


0 Comments
Please Share our blog if you like it